Creating sales invoices is available starting from the Lucy Invoicing subscription.
In preparation, you can follow these steps:
- Define settings
- Add clients
- Add sales items
Once everything is set up, you can start creating invoices. You can find more information about this on this page: Lucy invoicing - Create Sales Invoice
On this page, we explain how you can add customers.
Under the ‘Customers’ tab, you can view an overview of all customers and have the option to add new ones. This can be done in two ways: you can create them manually or import them using a CSV file.
Add clients Manually

Clicking on the 'Create new customer' option opens a screen where you can manually add customers by searching by name or VAT number. Lucy then automatically populates the remaining fields.
- Choosebetween 'Company' or 'Private individual'.
- You will still need to fill in the email address manually. Only one mailadress can be seven in the relationship card. Do you want to send invoices to plural mailadresses? When finalizing an invoice you get the option to enter extra mailadressen in CC.
- For international companies, you first need to select the correct country before entering a valid VAT number.
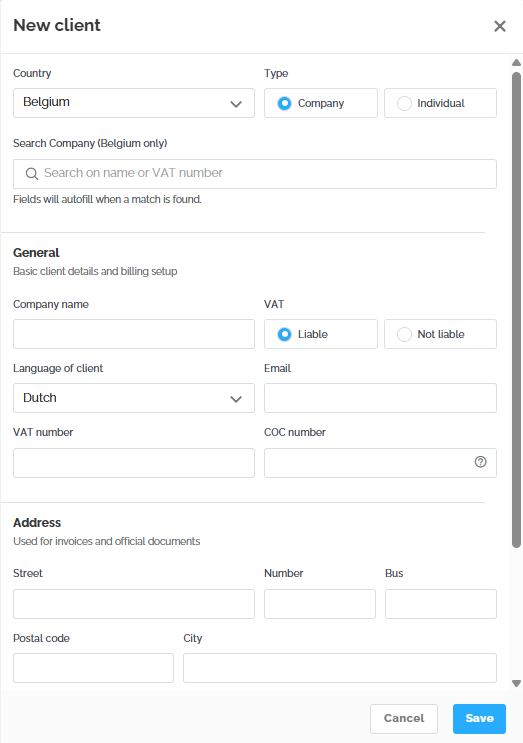
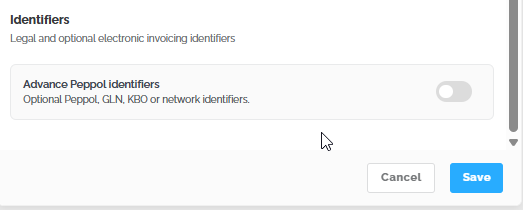
You can now also add Peppol IDs yourself. Currently, 9925 (VAT number), 0208 (company number), and 0088 (GLN) are supported. This can be done via the 'Advanced Peppol indicators' button. More information on setting up a GLN or a default Peppol ID can be found here.
Please note: a GLN number is currently the only way to send invoices internationally via the Peppol network in Lucy. It is not yet possible to send them based on the end customer’s VAT number or company number. When you only have the VAT number available, you can always send the invoices by e-mail.
Import clients in bulk
Importing customers can be done using a standard CSV format. Select the ‘Import customers’ option and then click ‘Sample template’ to download the file. By clicking the ‘Next’ button, you will be able to upload the file.
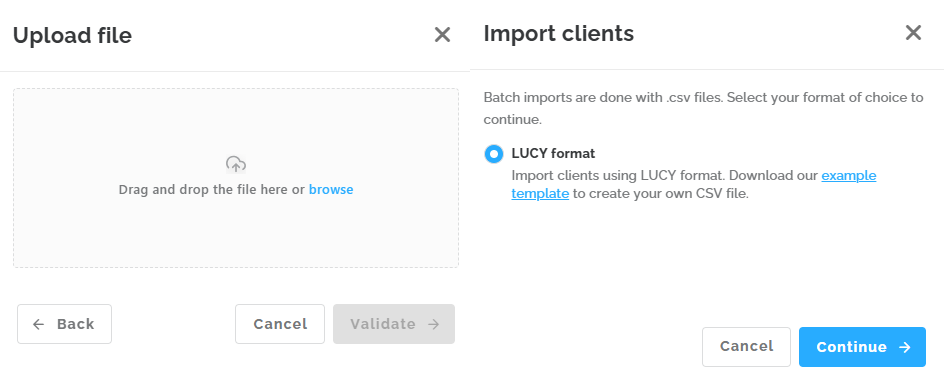
Once you have uploaded the file, you can click the ‘Validate’ button to review all imported customers. If needed, you can make adjustments using the pencil icon. After reviewing everything, click ‘Validate’ again and then ‘Import’. You can always return to the previous steps by clicking the ‘Back’ button.